Carved Halloween pumpkin ideas to try before the Big Night

Halloween has a way of sneaking up on you. One minute it's early October and you're telling yourself there's plenty of time, and the next it's the 30th and you're standing in the kitchen staring at a pumpkin, completely out of ideas. If that sounds familiar, you're not alone, and the good news is that some of the best carved halloween pumpkin ideas are also the simplest ones.
Start With the Classic Jack-O'-Lantern
There's nothing wrong with going the traditional route. Triangle eyes, a jagged mouth, maybe a missing tooth or two. What makes a classic jack-o'-lantern stand out isn't reinventing the wheel, it's the small details. Try uneven eyes for a slightly unsettling look, or add a few extra teeth of different sizes so it feels a little more alive. Sometimes the simplest carve is the one that gets the most compliments on the porch.

Silhouette Pumpkins look more impressive than they are
If you want something that looks like it took hours but really didn't, silhouette carving is worth trying. Instead of cutting all the way through the pumpkin in every spot, you only carve out select shapes, like a witch on a broomstick against a full moon, or a row of bats flying across the front. Print a template, tape it to the pumpkin, and just follow the lines. It photographs beautifully once you put a candle inside and the room goes dark.
Try etching instead of cutting all the way through
Not every design needs to be a hole straight through the shell. Etching, where you only carve away the top layer of skin, gives you a softer, glowing effect that's perfect for more detailed faces or patterns. A cat stretching across the front, a spiderweb in the corner, even simple lettering like "Boo" or a family name all work well with this technique. It's also more forgiving if your hand isn't perfectly steady.
Stacked Pumpkins for a bit of personality
Using two or three pumpkins of different sizes stacked on top of each other opens up a lot of fun possibilities. Carve a face on the top pumpkin and use the bottom one as a "body" with simple cutout arms or a carved bow tie. It's a nice option if you have kids helping out, since you can split the work and let everyone carve their own section.
Keep the seeds
Whatever design you land on, don't toss the seeds. A quick rinse, a little olive oil, salt, and about twenty minutes in the oven turns them into a genuinely good snack while you're finishing up the carving. It's a
small thing, but it makes the whole evening feel a little more complete.

Here's our recipe for roasted pumpkin seeds: rinse the seeds to remove any pulp, then pat them completely dry, this is the key step for getting them crispy. Toss with a tablespoon of olive oil, half a teaspoon of salt, half a teaspoon of paprika, a quarter teaspoon of garlic powder, and a pinch of black pepper. Spread in a single layer on a baking sheet and roast at 320°F (160°C) for 20 to 25 minutes, stirring halfway through, until golden and crunchy. Let them cool completely before eating, they crisp up even more as they cool. Store in an airtight container for up to a week.
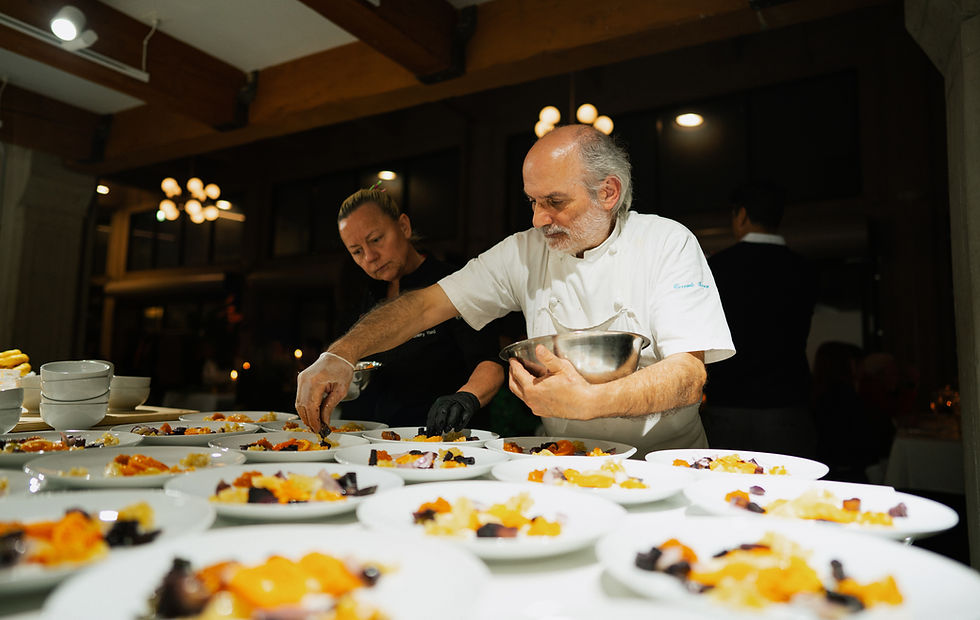
Not everyone wants to spend a Tuesday night scraping pumpkin guts out from under their fingernails, and that's completely fair. If you're looking for a way to enjoy the season without the cleanup, a private dining night at Impastiamo is a great alternative for gathering with friends or family. Instead of carving, you'll be shaping pasta by hand with guidance from one of our chefs, in a warm, relaxed setting that still gives you that cozy October feeling, just with better snacks at the end.